
Automate Database Builds Part Three: Create A Database Publish Profile
Automate Database Builds Part One: Extract DacPacs Using PowerShell Via sqlpackage.exe Automate Database Builds Part Two: Extract Database Structure for Visual Studio Solution Automate Database Build Part Three: Create a Database Publish Profile
Within a build.publish.xml file there is a “profile”. These profiles are essentially an xml file that define the settings when deploying a database. The examples below show how to create one, what the xml looks like, and some of the settings you can configure through the advanced settings.
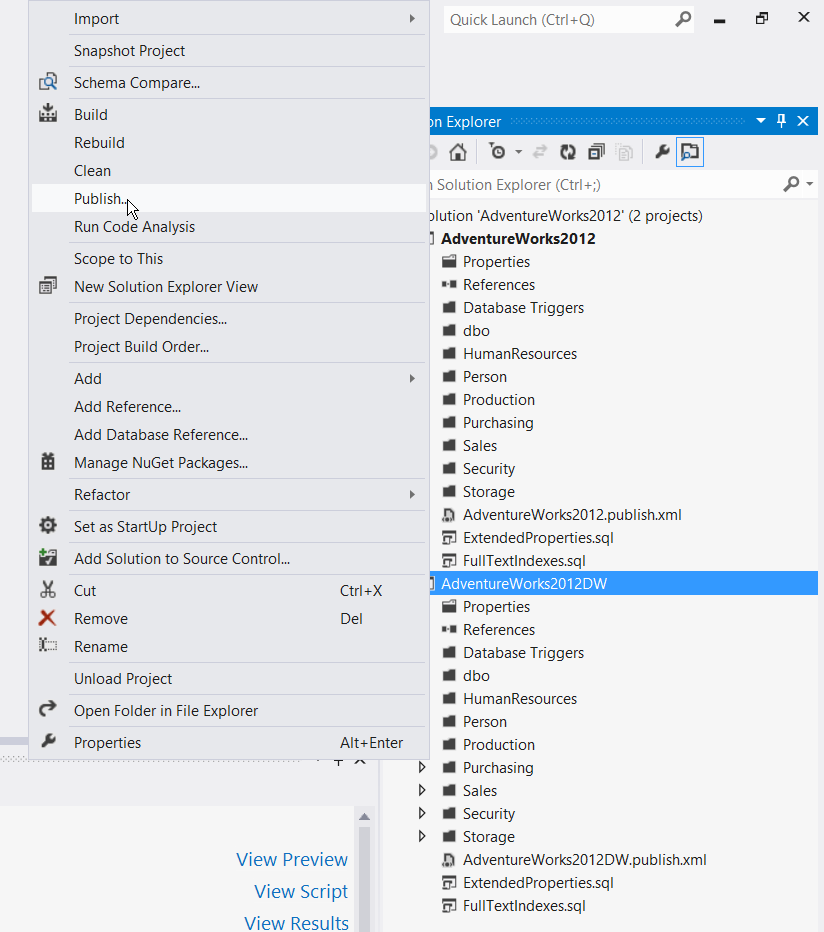
Let’s go ahead and save the file before we edit it. The pictures below show that when we click on create profile and it will automatically save it to the solution. You don’t have to create the profile in order to use it, so if there are any ad-hoc publishing you want to do, or save more than one profile.


Now we edit the target database connection. Fill in whatever is appropriate for your database.
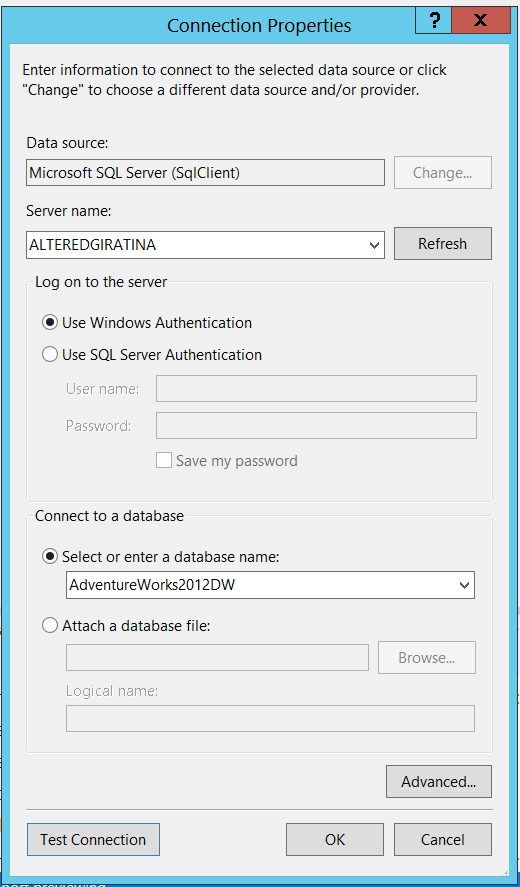
Click ok to take you back to the Publish Database window. At this point you can either script or publish. Click publish and any changes in the solution will be applied to the target database.

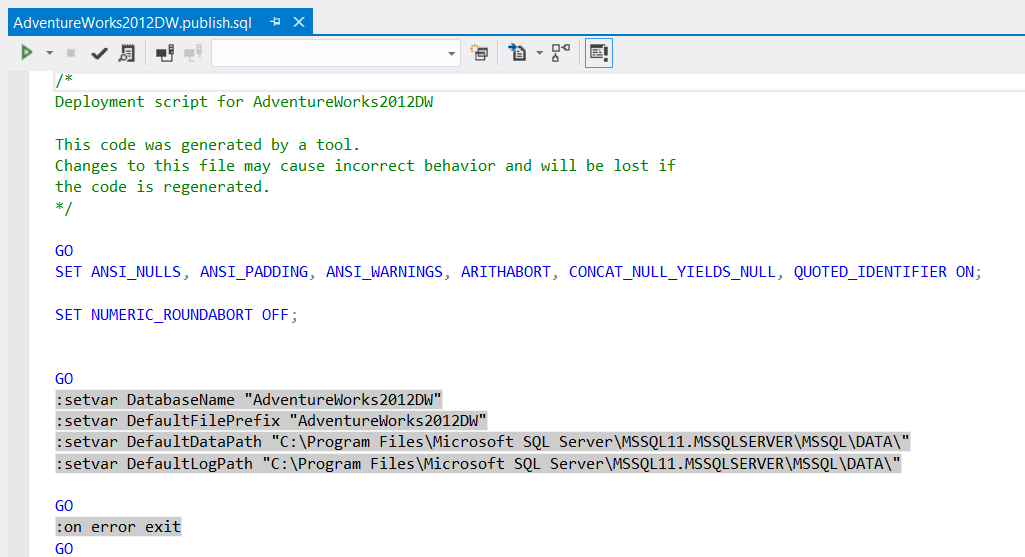
Even though we did not click “script” a script is still generated. You can click on the “view script” and you will see the sql script hat was deployed to your solution.
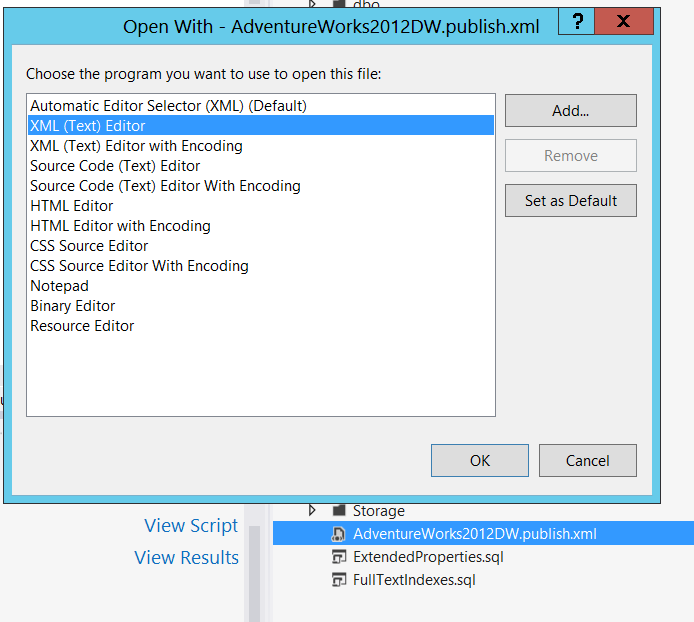
But what of the publish file? To see what the xml looks like right click the file in Solution Explorer and select “open with” and choose the “XML Text Editor”
<?xml version="1.0" encoding="utf-8"?>
<Project ToolsVersion="4.0" xmlns="http://schemas.microsoft.com/developer/msbuild/2003">
 <PropertyGroup>
 <IncludeCompositeObjects>True</IncludeCompositeObjects>
 <TargetDatabaseName>AdventureWorks2012DW</TargetDatabaseName>
 <DeployScriptFileName>AdventureWorks2012DW.sql</DeployScriptFileName>
 <ProfileVersionNumber>1</ProfileVersionNumber>
 <TargetConnectionString>Data Source=ALTEREDGIRATINA;Integrated Security=True;Pooling=False</TargetConnectionString>
 </PropertyGroup>
</Project>
So pretty straightforward, it’s an MSBuild file! it contains the target database and target instance, and we can see that it simply deploys the script. But all this is pretty straightforward, and database deployment is anything but. If we open up our publish file to get the default view and click on “Advanced” we see that we can get all sorts of options:
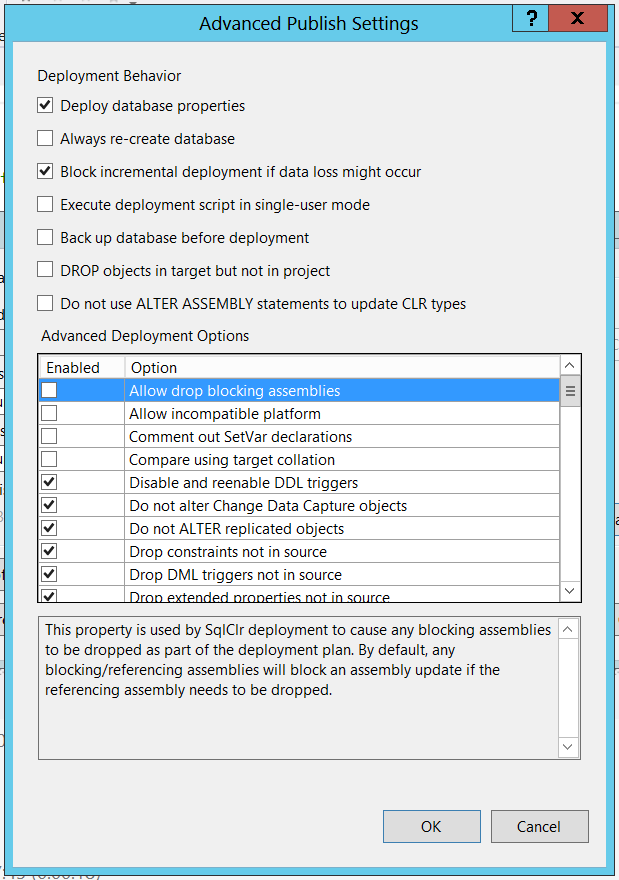
One setting I like to enable is dropping permissions that are not in the source. Once I have added that and saved the profile, when I open it up in XML Editor again the changes I made will be stored.
<?xml version="1.0" encoding="utf-8"?>
<Project ToolsVersion="4.0" xmlns="http://schemas.microsoft.com/developer/msbuild/2003">
 <PropertyGroup>
 <IncludeCompositeObjects>True</IncludeCompositeObjects>
 <TargetDatabaseName>AdventureWorks2012DW</TargetDatabaseName>
 <DeployScriptFileName>AdventureWorks2012DW.sql</DeployScriptFileName>
 <ProfileVersionNumber>1</ProfileVersionNumber>
 <TargetConnectionString>Data Source=ALTEREDGIRATINA;Integrated Security=True;Pooling=False</TargetConnectionString>
 <ScriptDatabaseOptions>True</ScriptDatabaseOptions>
 <BlockOnPossibleDataLoss>True</BlockOnPossibleDataLoss>
 <DropPermissionsNotInSource>True</DropPermissionsNotInSource>
 </PropertyGroup>
</Project>
Composite projects are created by adding Database References to projects or dacpacs. There are a few conditions by using references:
To deploy a composite project you must set the Include composite objects option on the project you’re deploying from. This option is on the Advanced options in Publish and on the Debug properties tab. It is also available as a general option in Schema Compare. Note that in Schema Compare the option only affects publishing to a target database. This is important: if you do not set this option source project will be deployed without the referenced projects or dacpacs. If you deploy to an existing database and forget to set this option but have set options to delete objects in the target that are not in the source, you will drop objects from the database.
If you save the build.publish.xml file, it sets the key value pair to “true”. By default it is implicitly set to false (that is, it won’t be in the xml set to “false”.
<IncludeCompositeObjects>True</IncludeCompositeObjects>